skip to main |
skip to sidebar

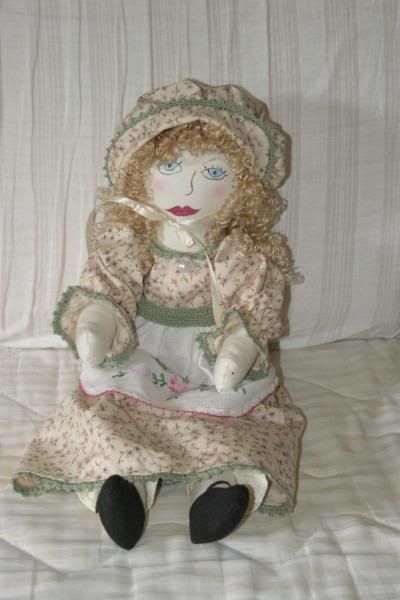
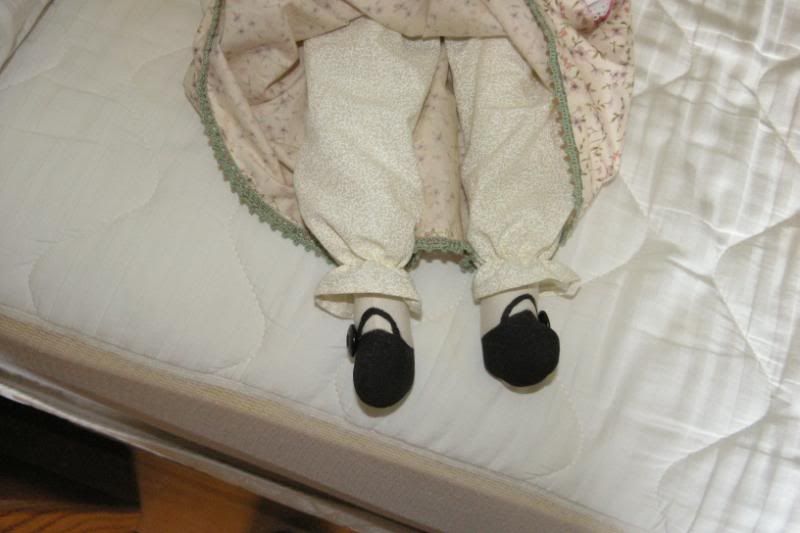
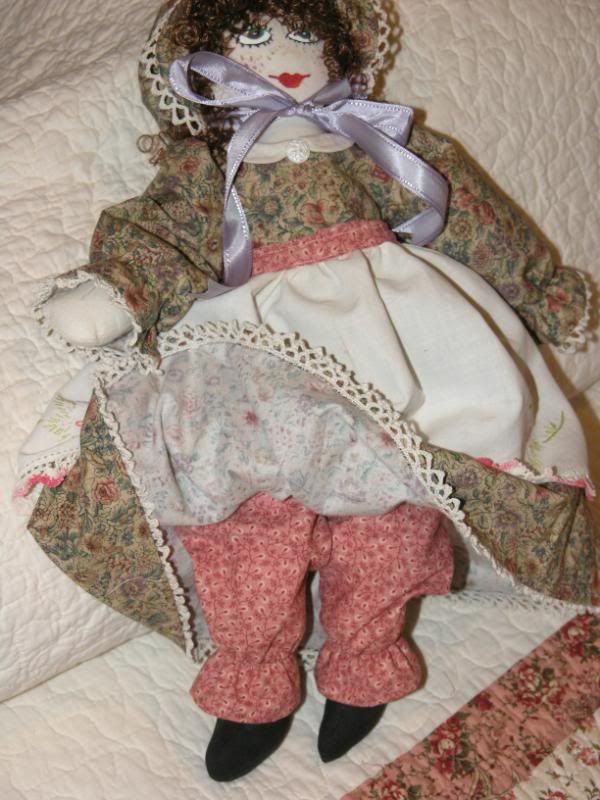
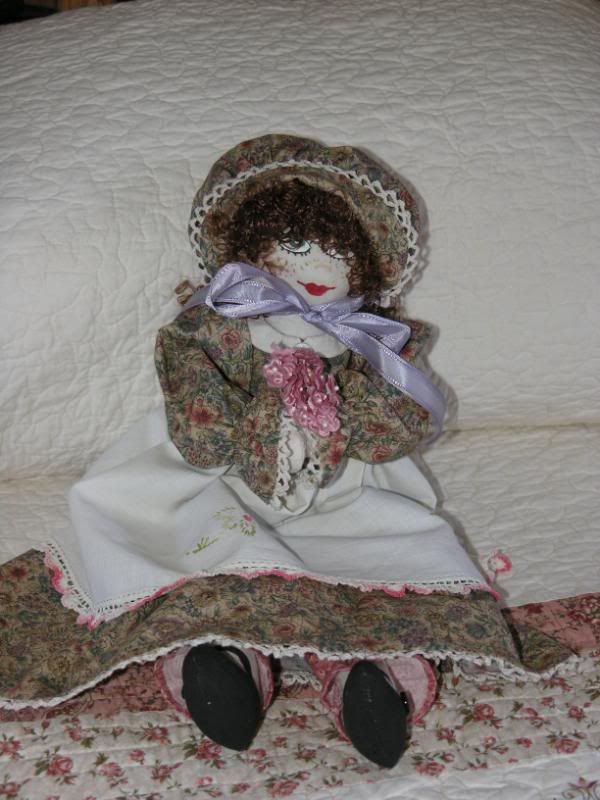
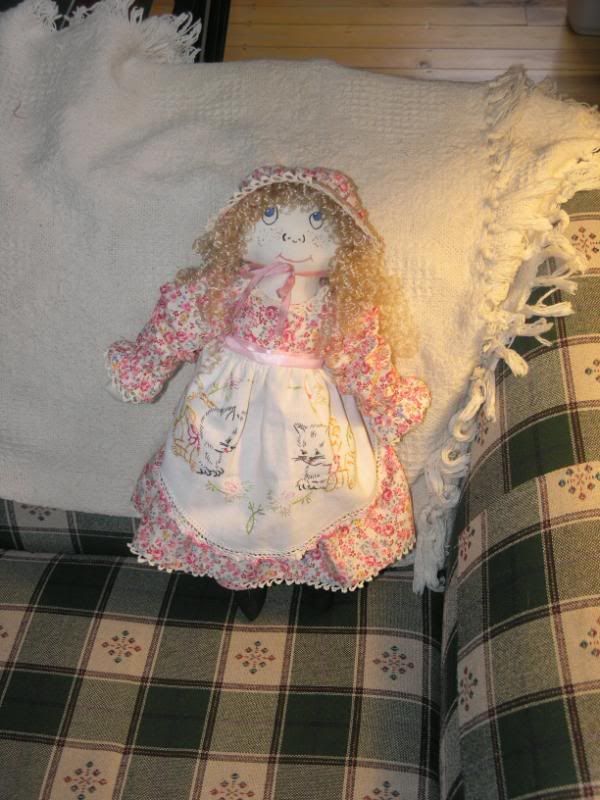
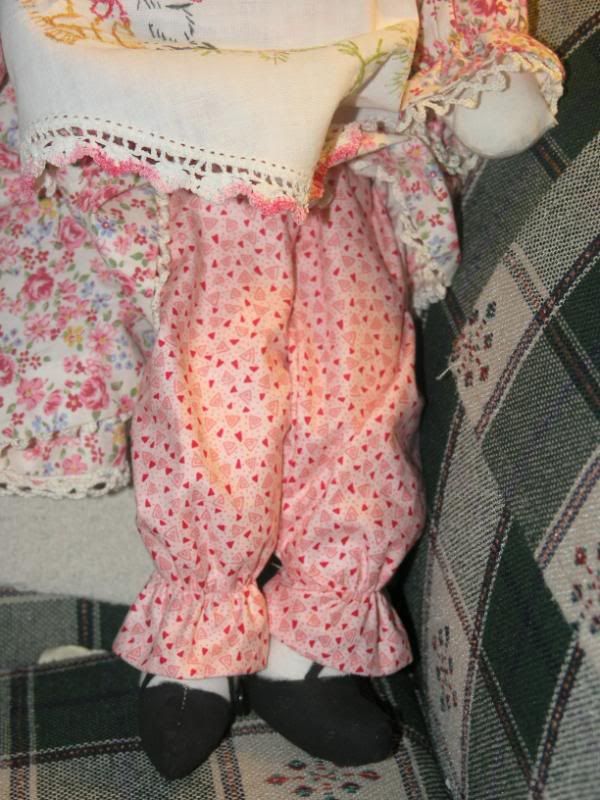
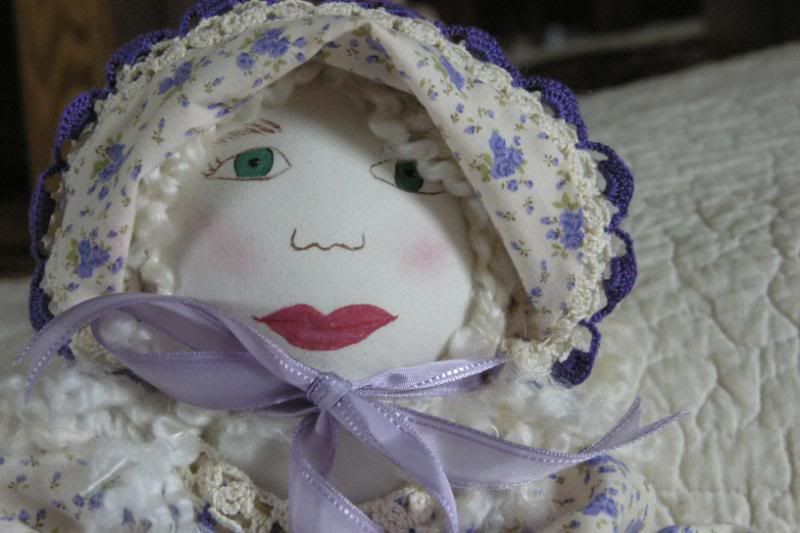 Viola May is now finished. She has crocheted edging around her bonnet, collar, sleeves and hem of her dress. Her apron is made from a vintage dresser scarf. Her hair is Lion Brand homespun yarn. I machine-felted the felt used for her shoes, using wool roving.
 This pattern is in the latest "Create & Decorate" magazine. She was so much fun to make! The pattern instructions said to use black buttons for the eyes, but I like the two different colored eyes better.

 I knitted this bag, then washed it in the machine with hot water, which made it fuzzy (felted). I added a button (not specified in the pattern but I "felt" it needed one!) and handles, and a fabric lining. The pattern is from a book called "i love (heart) felt" by Kathleen Taylor. I purchased it and the yarn and handles from Knit Picks - www.knitpicks.com, and it was really a lot of fun to make!
 I made felt on my new embellishing machine by spreading wool roving across water soluble stabilizer, then felting it until it was a flat piece of felt. Then I made a leaf using the same process. I attached the leaf to the center of the flat felt, letting the edges of the leaf curl up like a fallen leaf tends to do (you can't see the curling in the picture). I then attached it to the center of a piece that I had quilted using the stippling technique, and attached corner pockets on the back to insert a stick or dowel to use as a wall hanging. I think of this as a leaf on a pond and the flat felt behind the leaf is the reflection of the autumn trees on the pond's surface.


My DH bought me a Baby Lock 7-needle embellishing machine for Christmas, which I had asked for, but after I got it, I said, now what do I DO with it? I got it out last night and started playing with it and discovered that the things I can do with it are limited only by my imagination! First I put a piece of brown felt and a piece of red felt together and got out some shimmering Angelina fibers. I felted gold Angelina fiber onto the red side of the felt piece, then added some blue fibers and felted them in. I continue felting until the fibers began to show on the back side. Then I took some pieces of yarn and felted them onto the piece. At this point I had no idea what it would be -- I was just playing. Then I laid a piece of parchment paper on top and pressed an iron down on it to heat the Angelina fibers to make them bond. After that, I felted more yarn around the bonded fibers. I started to notice that my piece was resembling a heart! I took a section of burgundy felt and put pieces of gold Angelina fibers on each end of it, then used my embossing heat tool to make the fibers blend (but not press down and melt together TOO much like they tend to do with an iron). I then felted the "heart" to the burgundy piece, between the gold Angelina fibers, and when it was all done, it resembled a heart with wings! -- well, kinda.A word about Angelina fibers: They come in an assortment of colors that create an iridescent effect when you move them around, depending on their angle from the light. You melt them together to make all kinds of things, including flat "fabric," and you can shape them into the form of bowls and other items.
I'm excited about this piece because it is my first and because I know that even if I don't have a clue as to what I'm making, by using different materials and techniques, I may be pleasantly surprised at what will turn out! I found a great tutorial on line for MAKING FELT!. with the embellishing machine. As soon as I get the supplies that I need, I'll be trying my hand at it!


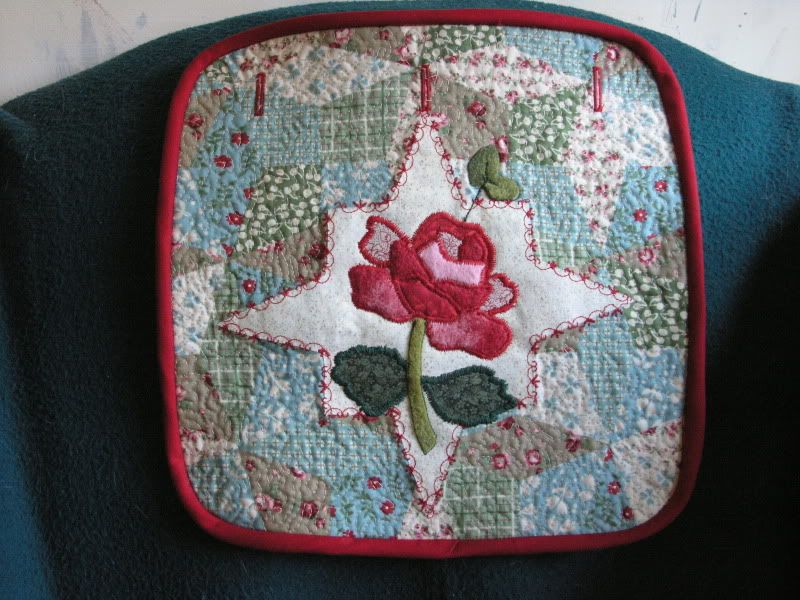
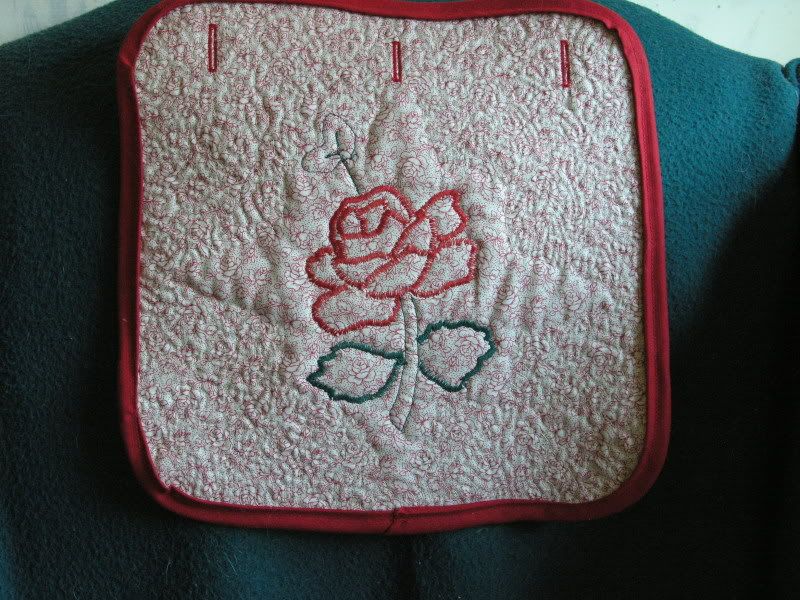 template for a window on the front of the flap.
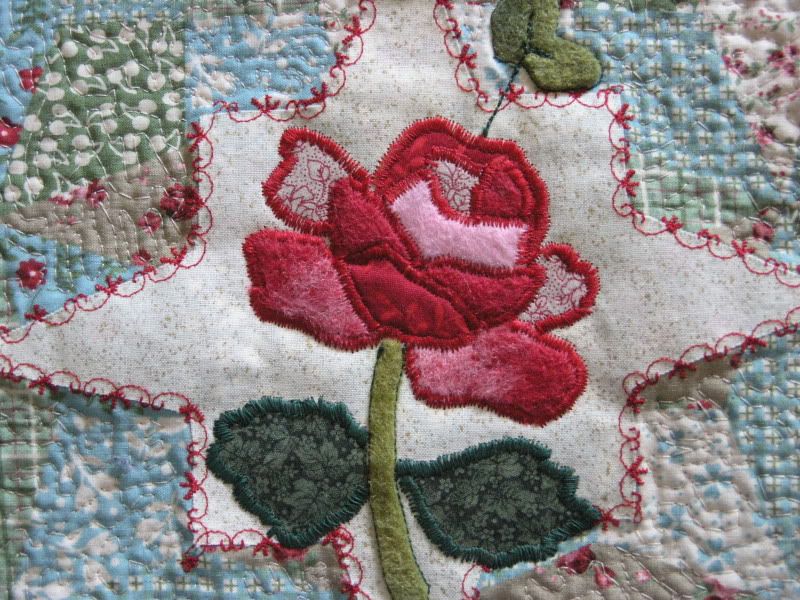 I used fancy stitches around the edge of the window. Using my felting machine, I made my own felt for some of the petals of the rose - red/pink, red, and pink, and the green stem and small leaves. For the other petals I used various fabrics, including the backing fabric. I satin stitched around the rose parts and around the large leaves. I stipple quilted the flap.


